DIY Advice- Fitting A VELUX Window
-
 Sterlingbuild
 - Advice & Guidance
- 14 Apr 2021
- 449views
- Reading time: 5 minutes
DIY Advice- Fitting A VELUX Window
Fitting a VELUX roof window. For pros it's second nature, for DIYers not so much. Installing your own window is achievable if you are properly
prepared.
| Quick links |
| Intro |
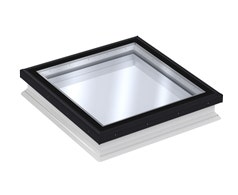
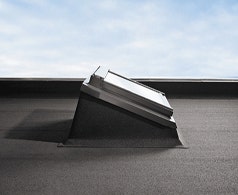
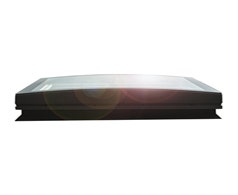
| Velux roof windows |
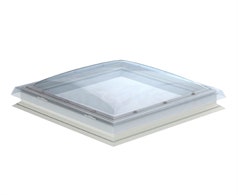
| Other roof windows |
| Do you need planning permission? |
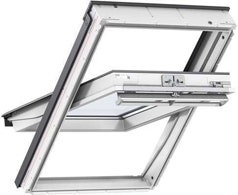
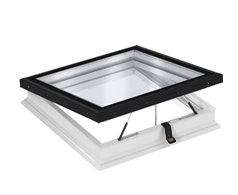
| Velux Centre Pivot Roof Windows |
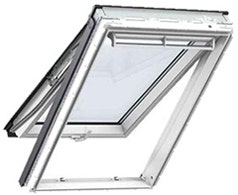
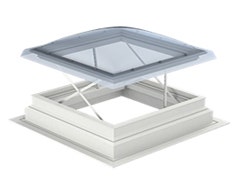
| Electric & Solar Roof Windows |
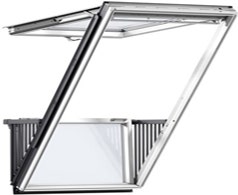
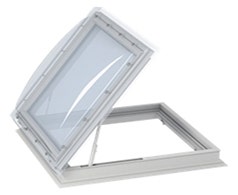
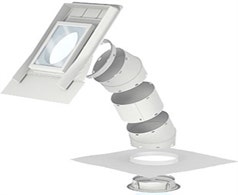
| VELUX & FAKRO Balcony Windows |
| What you need |
| How to fit a roof window |
| Installation Guides |
| Where to get help |
While we all love the thought of filling our homes with natural sunlight and creating stunning outdoor views with a VELUX roof window or two, one thing a lot of us
don't look forward to quite as much is fitting a VELUX window.
Whether a
roofer,
experienced DIYer or completely new to the home improvement game, fitting a VELUX window is a
delicate job that should not be taken lightly or carried out if you are unsure about tackling any
stage of the installation.
Instructions should be followed as close to the book as possible to ensure the perfect look and performance of your new window. However,
with all this being said, fitting a VELUX window, or any pitched roof window for that matter, is not as difficult as most imagine as the whole job can be completed from inside the home and you could save yourself a tidy sum.
It is essential to
check whether your project requires planning permission before you begin, however
most roof window installations
fall under Permitted Development. It is also important you check and follow all building regulations related to energy efficiency and get a certificate from your local authority to confirm this once completed- this is essential should you go on to sell your home.
If you are planning to go it alone in fitting your VELUX window without assistance from a professional, we have VELUX installation guides available on Sterlingbuild for every
VELUX window design, including centre-pivot GGL, INTEGRA and CABRIO.
To jump straight to our installation guides, scroll down
the page to find full instructions with clear step-by-step
illustrations. Or,
read our
12 steps below for help
fitting a VELUX window, from roof opening to
vapour barrier.
Tape measure, pencil, ladder, hammer, screwdriver, knife, pincers, panel saw, staple, angle grinder, safety goggles. Several of these tools can be purchased from our sister website, Roofinglines.
1:
Using your pencil, mark on the rafters the approximate area for your new VELUX window and mark the centre.
2:
Starting from the centre, begin removing any felt or battens to expose the roofing materials. Remove tiles/slate away by lifting up and pulling back between the rafters. Remove all the tiles that covered your initial markings to create a clear aperture for your new window. The width of the new opening should be between 40-60mm bigger than the size of the window.
3:
Measure to check the squareness of your opening is true. Fasten
the
top and bottom support battens using a spirit level. Make sure all surfaces are flush.
4: Make up your VELUX insulation collar by clipping all corners together before lifting through the opening and
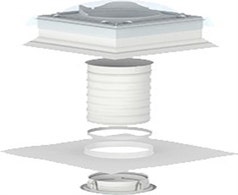
into place ready for your window frame to be installed. VELUX insulation collars are one of a number of VELUX accessories we recommend be purchased alongside your VELUX window.
5: Safely detach the window frame its sash by unlocking the hinge if you have not done so already. Screw the brackets onto the window frame and lift into the opening. Screw into the bracket holes, through the
batten and into the rafter to secure the bottom of the frame in place.
6: Reattach the sash into the frame by lining up the curved hinged pieces of the sash with the corresponding slots on
the frame. Open the sash and check all spaces are even. If there is any uneven
spacing, a crowbar or the black wedge provided as part of your flashing kit can be used to adjust.
If and when all
is even, screw in the top brackets to fully secure the window.

7: Fit your underfelt collar by placing at an angle to allow for adequate runoff of
any water than might run down the roofing felt. Fit the collar tight to the edges of the window frame before stapling down the collar to the battens.
8: Install the gutter into place at the top of the window and fold the underfelt collar over and into it. Secure into place using the clips provided.
9: Install the tiles underneath your window. You are now ready to fit your
flashing. VELUX flashings are made specific to work with particular roof materials- so make sure you purchase the right type
for your window. Press and smooth the bottom apron of the flashing to the countours of the tiles and screw down.
10:
Replace the tiles in the roof, placing up the sides of your new window. Tiles or slate may need to be cut with an angle grinder to fit properly and create a weathertight covering and tidy finish. Attach the sash back onto the frame.
11: Dress you vapour barrier into the internal lining of your window and screw into place. Tape down into the building's existing vapour barrier to prevent any moisture inside the building reaching the roof's structure
12: Sit back and enjoy your new VELUX window in your now brighter, healthier and
airier living or leisure
space.
For further guidance on any of the above steps, contact one of our expert sales team who would be more than happy to help.