DIY Advice- Fitting A VELUX Window
-
 Sterlingbuild
 - Advice & Guidance
- 14 Apr 2021
- 393views
- Reading time: 5 minutes
DIY Advice- Fitting A VELUX Window
Fitting a VELUX roof window. For pros it's second nature, for DIYers not so much. Installing your own window is achievable if you are properly
prepared.
| Quick links |
| Intro |
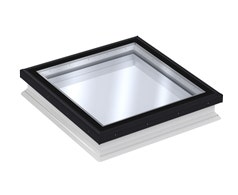
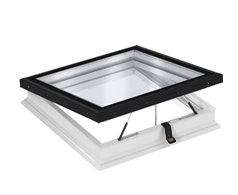
| Velux roof windows |
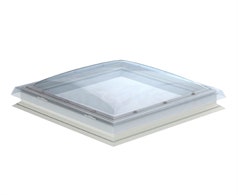
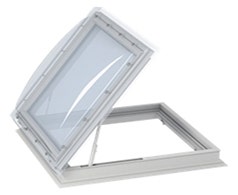
| Other roof windows |
| Do you need planning permission? |
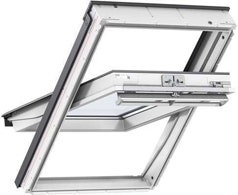
| Velux Centre Pivot Roof Windows |
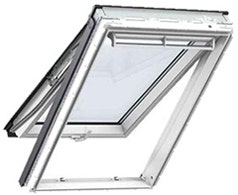
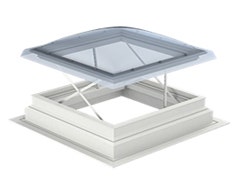
| Electric & Solar Roof Windows |
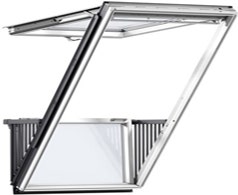
| VELUX & FAKRO Balcony Windows |
| What you need |
| How to fit a roof window |
| Installation Guides |
| Where to get help |
While we all love the thought of filling our homes with natural sunlight and creating stunning outdoor views with a VELUX roof window or two, one thing a lot of us
don't look forward to quite as much is fitting a VELUX window.
Whether a
Instructions should be followed as close to the book as possible to ensure the perfect look and performance of your new window. However,
It is essential to
If you are planning to go it alone in fitting your VELUX window without assistance from a professional, we have VELUX installation guides available on Sterlingbuild for every
To jump straight to our installation guides, scroll down
Tape measure, pencil, ladder, hammer, screwdriver, knife, pincers, panel saw, staple, angle grinder, safety goggles. Several of these tools can be purchased from our sister website, Roofinglines.
1:
2:
3:
4: Make up your VELUX insulation collar by clipping all corners together before lifting through the opening and
5: Safely detach the window frame its sash by unlocking the hinge if you have not done so already. Screw the brackets onto the window frame and lift into the opening. Screw into the bracket holes, through the
6: Reattach the sash into the frame by lining up the curved hinged pieces of the sash with the corresponding slots on

7: Fit your underfelt collar by placing at an angle to allow for adequate runoff of
8: Install the gutter into place at the top of the window and fold the underfelt collar over and into it. Secure into place using the clips provided.
9: Install the tiles underneath your window. You are now ready to fit your
10:
11: Dress you vapour barrier into the internal lining of your window and screw into place. Tape down into the building's existing vapour barrier to prevent any moisture inside the building reaching the roof's structure
12: Sit back and enjoy your new VELUX window in your now brighter, healthier and
For further guidance on any of the above steps, contact one of our expert sales team who would be more than happy to help.